Add, edit, and delete properties
Add a property through its seven-tab form, edit an existing one from the list or its detail panel, understand validation rules, and delete a property for good.
Before you start
- Anyone signed in on the account can add, edit, and delete properties — there's no separate admin-only step for this module.
- A property, which is one site or building in your portfolio, is made up of fields spread across seven groups: Location, General, Site / Building, Utilities, Transportation, Sale / Lease, and Incentives / Badges. Only Property Name is required — every other field can be left blank.
Steps
Add a property
-
Click Add Property.
-
The Add New Property dialog opens with seven tabs. Each tab holds a different group of fields from the property catalog; a compact sample of what's on each:
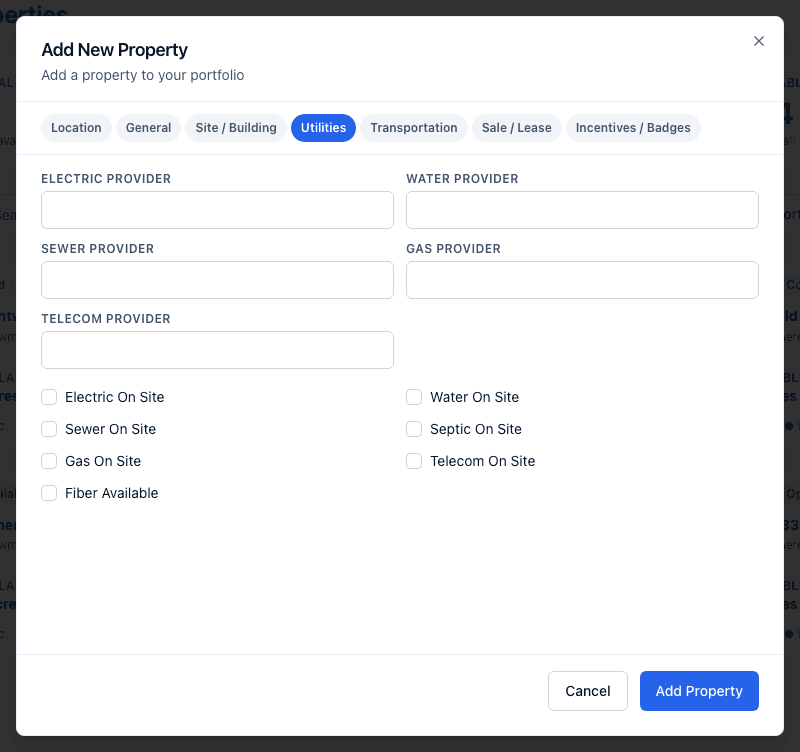
Tab Example fields Location Property Name, Property Type, Street Address, City, State, Latitude, Longitude General Client Property ID, Description, Property Ownership, Floodplain, Wetlands Site / Building Available Acres, Total Acres, Building Sq Ft, Topography, Shovel Ready Certified Utilities Electric On Site, Electric Provider, Water On Site, Sewer On Site, Gas On Site, Telecom Provider Transportation Nearest Interstate, Distance to Interstate, Nearest Commercial Airport, Rail Service Carrier Sale / Lease Status, For Sale, For Lease, Sale Price, Sale Price Unit, Negotiable Incentives / Badges Site Zoning, Federal Opportunity Zone, Foreign Trade Zone, Enterprise Zone, Custom Badges 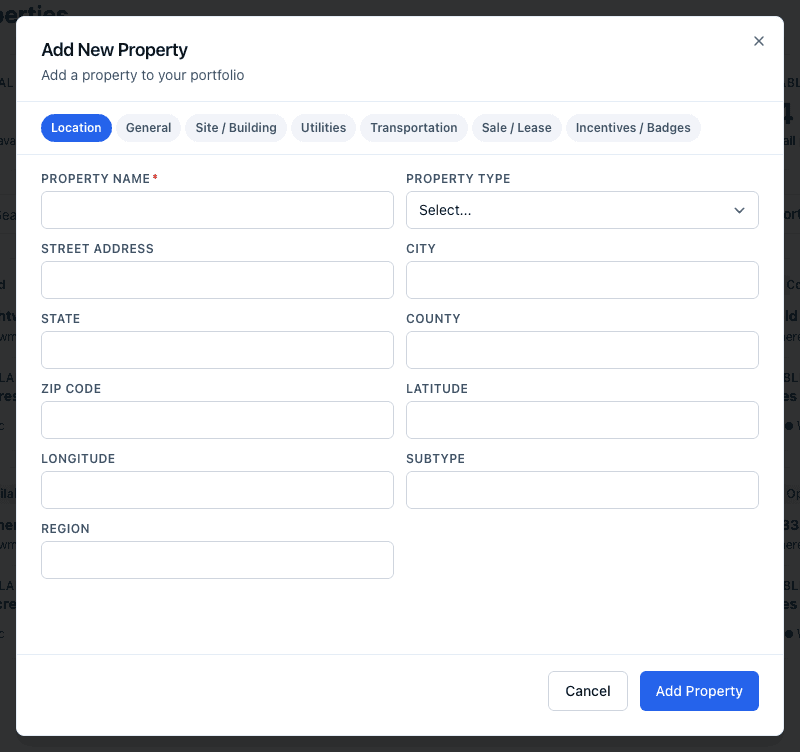
-
Fill in Property Name — the only required field — plus whatever else you know. Status, on the Sale / Lease tab, defaults to Available on a new property.
-
A few fields have their own rules:
- Latitude must be a number between -90 and 90, or you'll see "Must be a number between -90 and 90."
- Longitude must be a number between -180 and 180, with the matching message.
- Other numeric fields (like Available Acres or Sale Price) must be a number, or you'll see "Must be a number."
- Fields like Custom Badges take a comma-separated list — type several values separated by commas and each becomes a separate entry.
-
If a tab has an error, its button turns red and, on submit, the dialog jumps to the first tab that has one so you don't have to hunt for it.
-
Click Add Property. A "Property created" confirmation appears and the dialog closes.
Edit a property
- Open the same dialog, titled Edit Property, from either place:
- The pencil icon in the header of a property's detail panel (opened by clicking a property in the list or grid) — its label for screen readers is "Edit property."
- The pencil icon in a property's row in the list view, which opens the dialog without first opening the detail panel.
- Every field is pre-filled with the property's current values. Change what you need — the same required-field and validation rules apply.
- Clearing a field's value and saving really clears it: the update sends every field on the form, so a blank field is stored as blank rather than left at its old value.
- Click Update Property. A "Property updated" confirmation appears and the dialog closes.
Delete a property
-
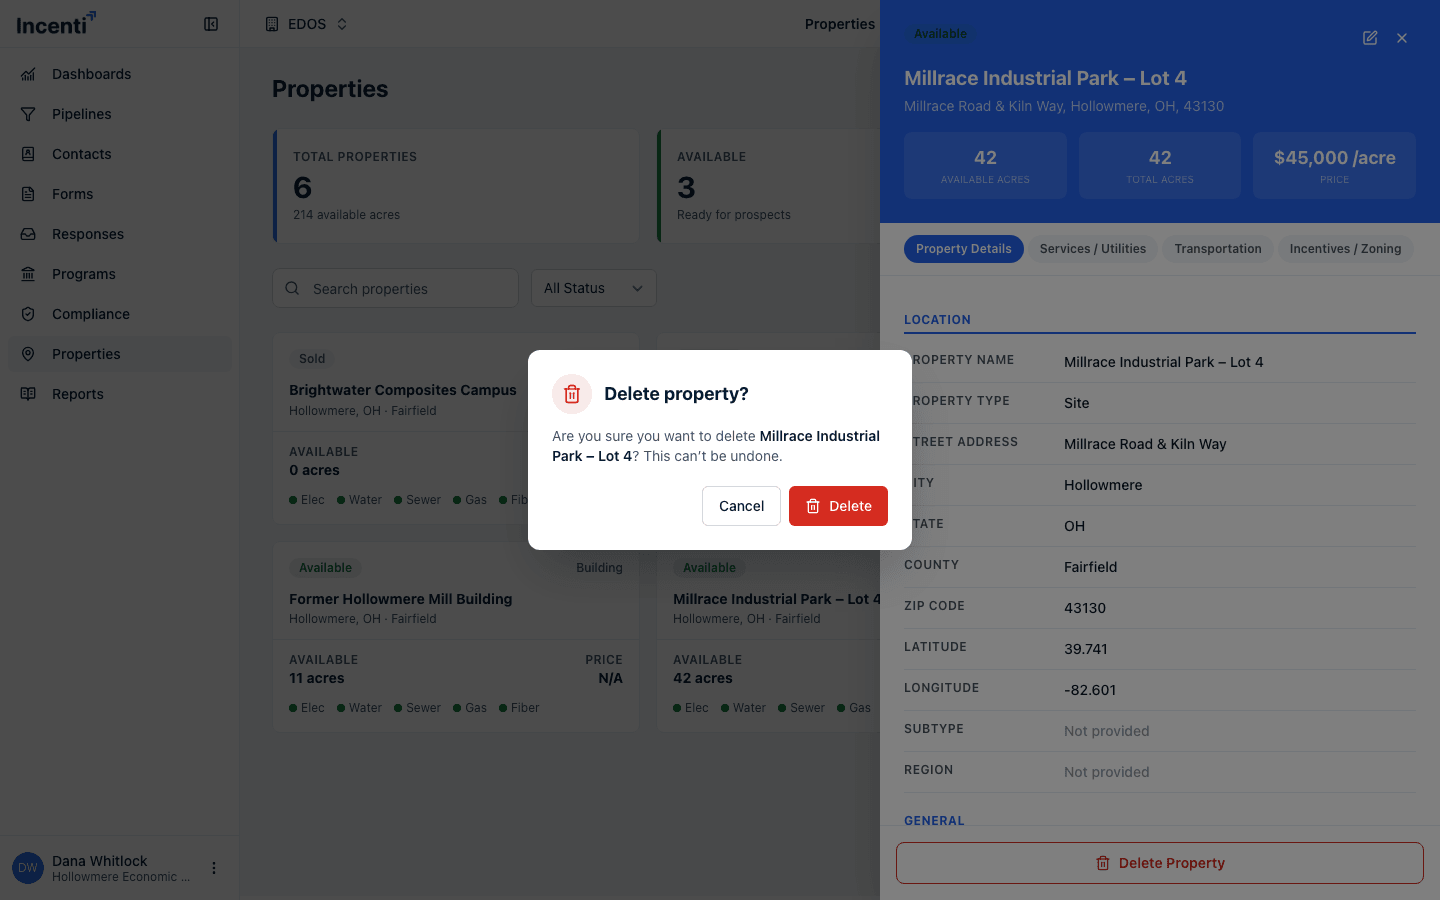
Open the property's detail panel and click Delete Property at the bottom.
-
A confirmation dialog titled "Delete property?" asks "Are you sure you want to delete [property name]? This can't be undone."
-
Click Delete to confirm, or Cancel to back out. A "Property deleted" confirmation appears and the panel closes.
What happens next
- Deleting a property removes it from the grid, the list, and the map right away, and a link to it shows a "Property not found" message. A response that was linked to the property is not deleted or changed.
- If a new property has any of street address, city, county, state, or zip code but no Latitude or Longitude, Incenti looks up coordinates in the background so the property can appear on the map. Coordinates you type yourself are used as they are and no lookup runs.
- On an edit, a lookup runs only when you change an address field and the Latitude and Longitude fields are blank in that same save. The dialog saves the coordinates it shows, so changing an address while they are filled in keeps the old pin. See See properties on the map for how to refresh a pin.
- An "Additional details" section can appear on a property's detail page below its regular fields. Those entries come from matching a form submission to the property, not from this dialog — you won't see them while adding or editing a property here.
Common questions
Q: Why won't the dialog let me save? A: Property Name is the only required field, so a blocked save almost always means a validation error elsewhere — check for a tab button that's turned red; the dialog jumps you straight to it.
Q: I deleted a property by mistake. Can I get it back? A: There is no restore option in Incenti. The confirmation warns that the delete can't be undone. If the property had a Client Property ID, importing a row with that ID brings it back with the values on that row; see Import and export properties. Otherwise add it again, or contact support and say which property it was and when you deleted it.
Q: Why doesn't the new property show up on the map? A: If you didn't enter Latitude and Longitude yourself, Incenti looks them up from the address in the background after you save, which can take a moment. Refresh the page after a bit. See See properties on the map.
Related
Last updated on